
I recently got an Anova Precision Oven, which I love. But what would make it even better is if I could control it from Home Assistant.
Let’s dive in! While my goal is to control this specific oven, these strategies are broadly applicable to any IoT device which uses an Android app.
Getting Setup
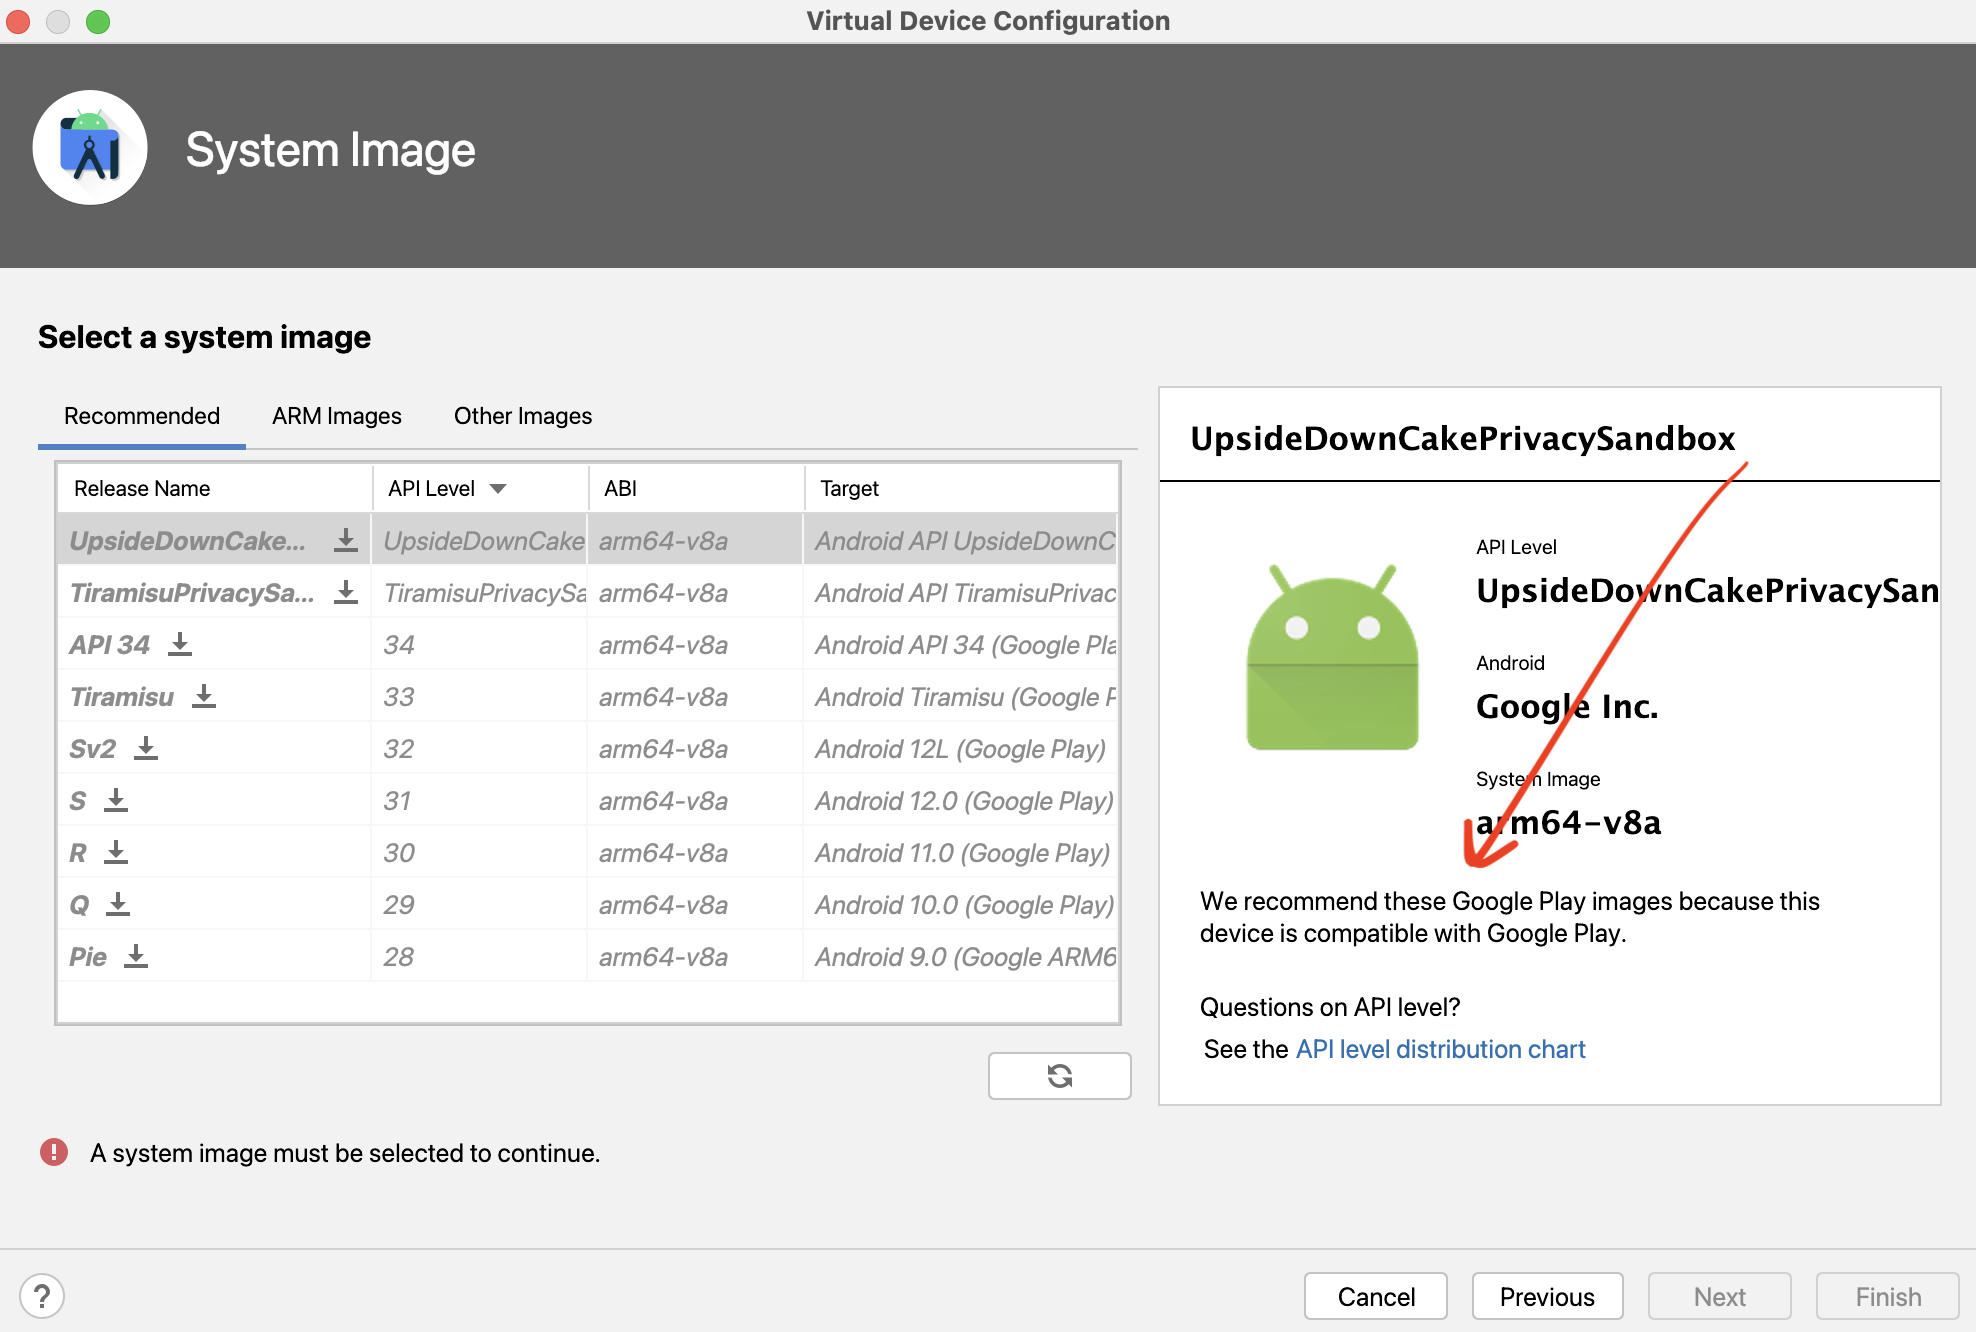
First you’ll need Android Studio. Then you’ll need to configure a virtual device which has Google Play support.
Once you get the emulator running, go to the Google Play store within the virtual device and download the Anova application.
Next you’ll need to setup ADB (as suggested in this Stack Overflow thread) on your host machine:
$ export PATH=$PATH:/Users/<User>/Library/Android/sdk/tools/
$ export PATH=$PATH:/Users/<User>/Library/Android/sdk/plaform-tools/
Now you’ll need to pull a copy of the app on to your host machine so you can patch it for ADB debugging:
$ adb shell pm list packages -f -3
$ adb pull /data/app/~~gbepSifcBxr_eECRmeaY0w==/com.anovaculinary.anovaoven-5f9AKiKjqnsVZvllYdzCuA==/base.apk
$ apktool d -o output-dir base.apk
In output-dir, find AndroidManifest.xml and open it up in the text editor of
your choice. In the application xml node, add the following xml attribute:
android:debuggable="true"
And set the following to be true (for reasons):
android:extractNativeLibs="true"
Now you’ll need to reassemble the application. You can do this by running:
$ apktool b -o com.anovaculinary.anovaoven.apk output-dir
Next you’ll need to permit mitmproxy in output-dir/res/xml/network_security_config.xml
<network-security-config>
   <debug-overrides>
      <trust-anchors>
         <certificates src="system" />
         <certificates src="user" />
      </trust-anchors>
   </debug-overrides>
</network-security-config>
Now resign the APK so that the device will accept it:
$ keytool -genkey -v -keystore resign.keystore -alias alias_name -keyalg RSA -keysize 2048 -validity 10000
$ apksigner sign -v --out signed.apk --ks resign.keystore --ks-key-alias alias_name com.anovaculinary.anovaoven.apk
Next you have to delete the existing application from the emulator and then upload and install the new package:
$ adb install signed.apk
Then fire up the network inspector to record requests and you’re off to the races.
As I said before, these steps above can be repeated for any Android application and allow you to inspect all of it’s network traffic.
What I found
It looks like the Anova application used Firebase and Alogia to implement it’s UI. However none of the oven commands appeared in the network inspector. After a bit more digging, it became clear that the app utilized a separate library to communicate with the oven. Good thing we configured a proxy.
Using mitmproxy I was able to find a copy of the oven firmware but
unfortunately the firmware blob was also encrypted so that was a deadend.
Next I searched the application binaries for strings and found
wss://app.oven.anovaculinary.io.
Luckily with mitmproxy, I was able to intercept and decode all of the traffic and therefore document the API.
Sadly after finishing the initial research Anova has migrated their APIs to a new platform. Luckily you can find the new API here.
Happy hunting!